
Trying to get your new printer up and running? Here are the basic steps you'll follow to set up almost any printer.
-
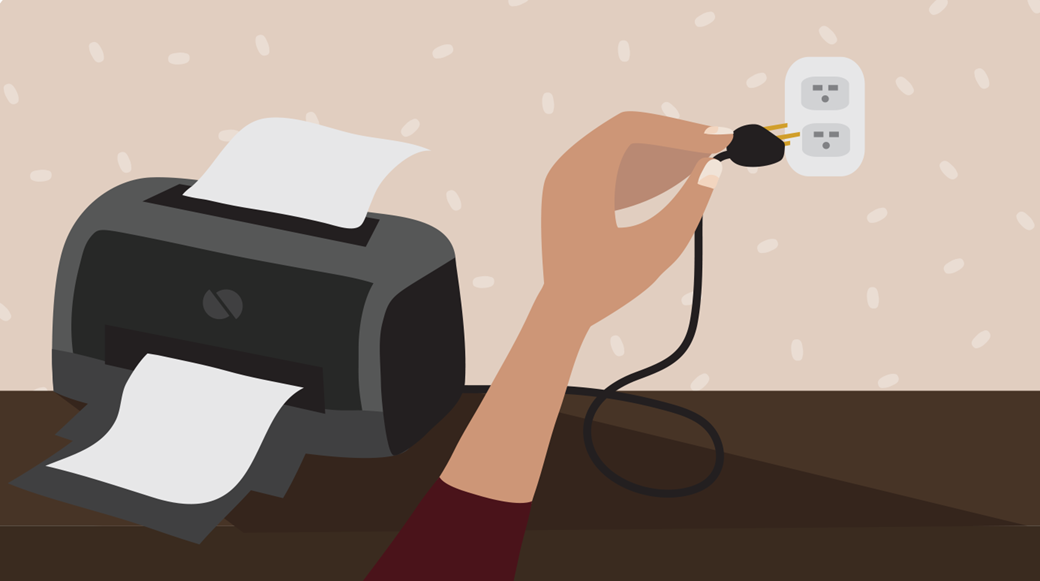
Plug in the printer's power cable and make sure it's turned on.
-
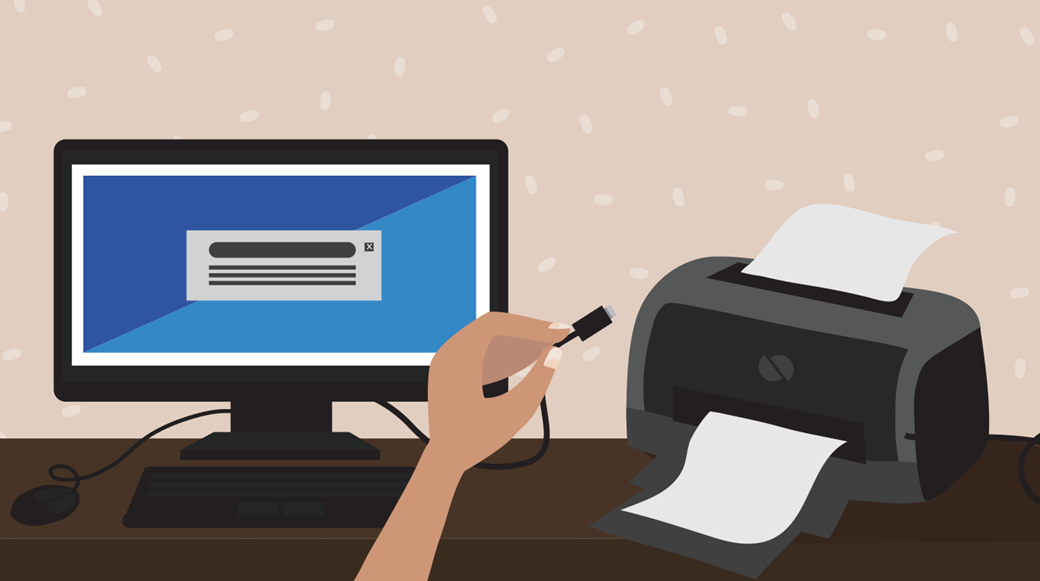
Connect the included cable (usually a USB cable) from the printer to the computer. Note: The process will be different if you're using a wireless printer; we'll talk more about that later on.
-
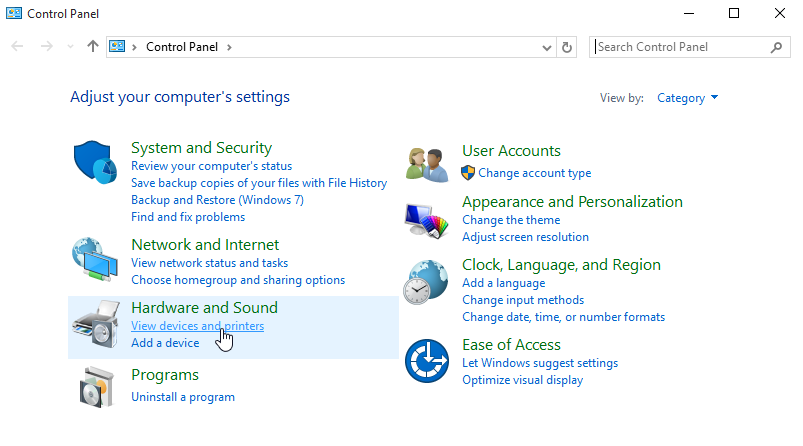
On your computer, locate the Printer settings. If you're using a Windows computer, you'll find these in the Control Panel. If you're using a Mac, you'll find them in System Preferences.
-
Look for the option to Add a printer, then follow the instructions that appear.
<img "="" class="imageBorder" src="https://media.gcflearnfree.org/content/558d56a9607fc10e50038972_06_26_2015/win10_add.png" alt="Adding a new printer"> -
Now it's time to try printing something! For example, you could try printing this test page. After you click the link, select File > Print from your web browser's menu, or simply press Ctrl+P on your keyboard (or Command+P if you're on a Mac).
-
A dialog box will appear. Locate and select the new printer from the list, then click Print.
<img "="" class="imageBorder" alt="using the Print dialog box" src="https://media.gcflearnfree.org/content/558d56a9607fc10e50038972_06_26_2015/win10_print.png"> -
The item will then be printed. But if it doesn't work, don't panic! You can try using some of the solutions to common problems below.
Comments
0 comments
Please sign in to leave a comment.